Art director
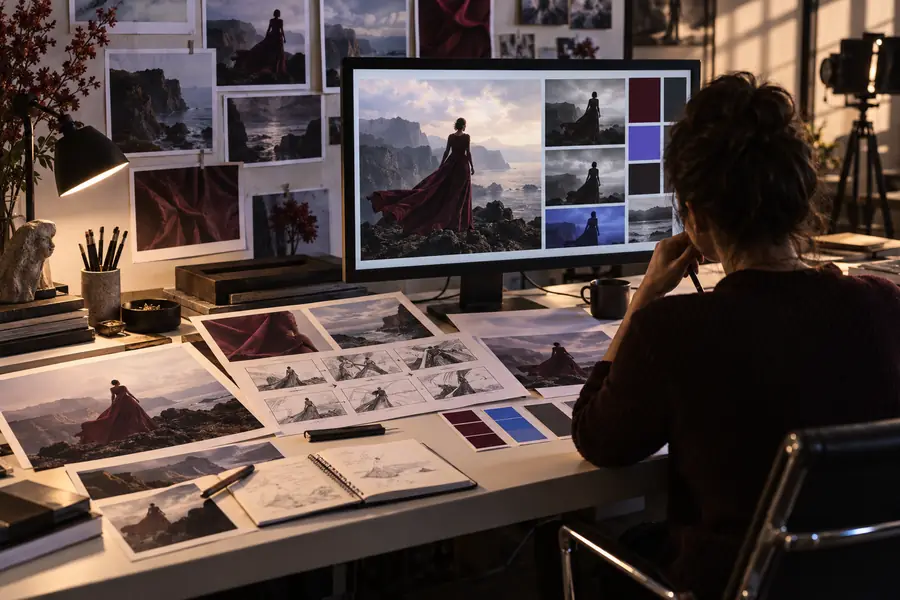
Explore several campaign moods before briefing a larger production team.
Compare visual directions quickly, then carry the most useful one into a structured brief.
AI image creation
Freepik AI gives you a focused entry point for turning written ideas into visual directions, edits, and campaign-ready assets. Start with a prompt, then refine the result.
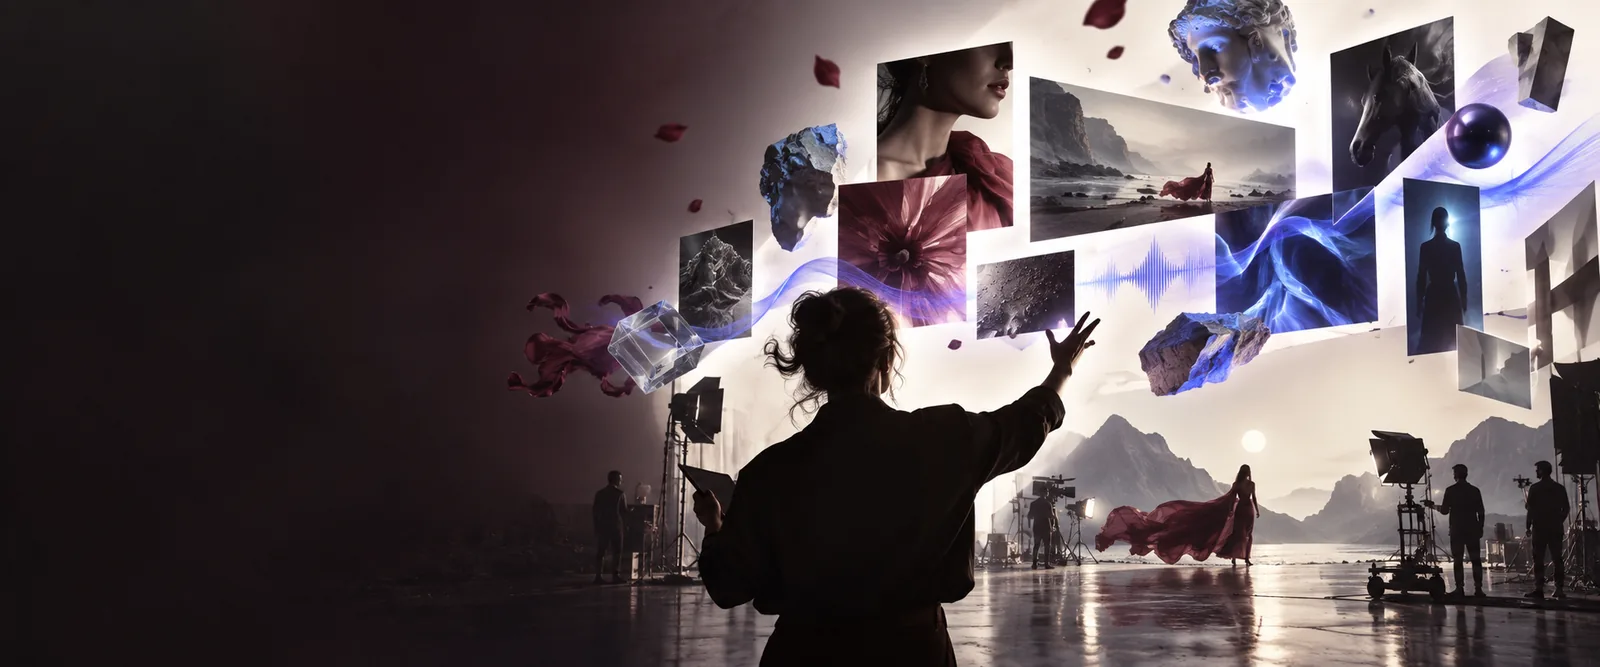
See the difference
The dedicated AI workspace keeps generation and refinement close together, while the broader Freepik experience spans discovery, design resources, and many creative surfaces.
Cinematic mountain valley at blue hour, mist between the peaks, warm cabin lights, wide lens, atmospheric concept art
 Concept
result
Concept
result
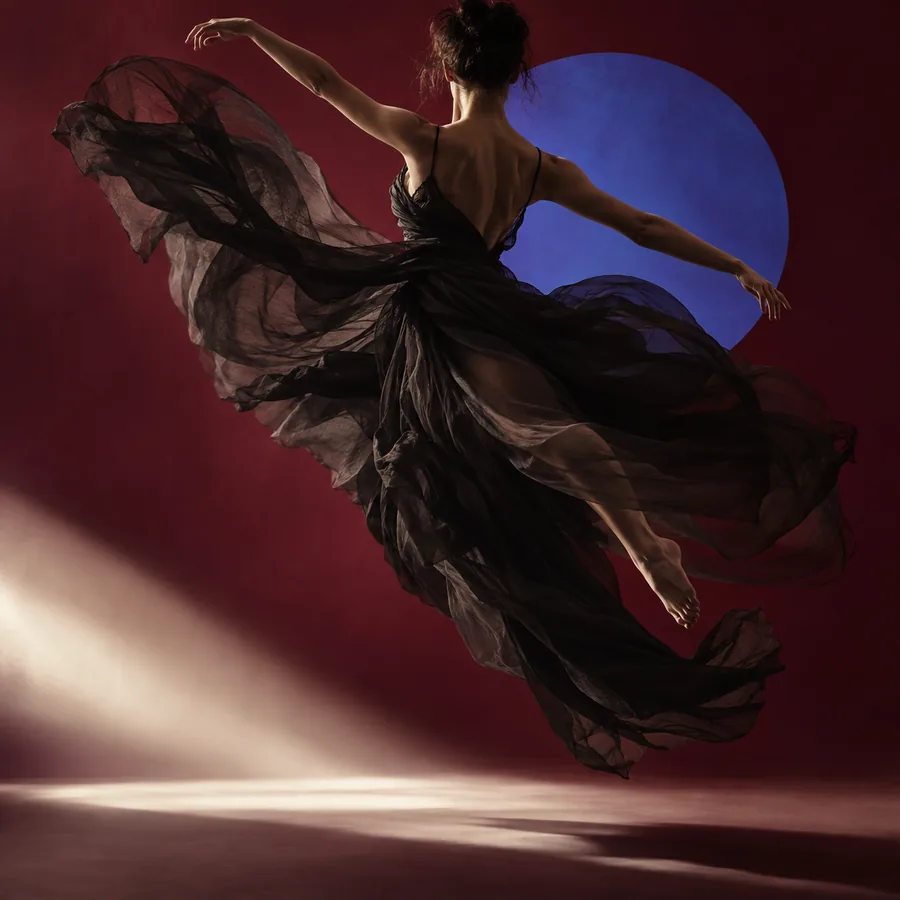
Editorial portrait of a dancer in sculptural coral fabric, bold studio shadows, saturated peach background, high-fashion magazine style
 Portrait
result
Portrait
result
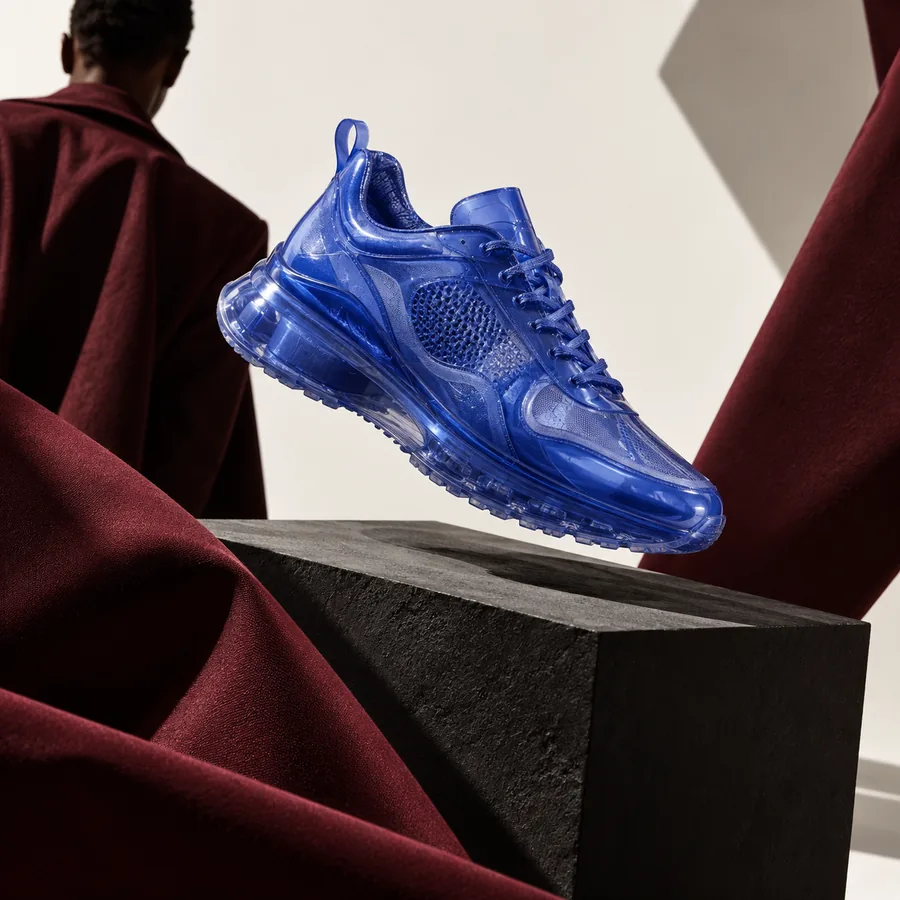
Minimal skincare product floating above a pale stone pedestal, soft lavender gradient, diffused daylight, premium advertising photography
 Product
result
Product
result
Keep the subject and visual intent stable, then change one variable at a time: lighting, lens, material, or mood.
Explore the toolkit
Use the AI-focused route when the job begins with an idea, an image, or a visual problem rather than a search for a finished asset.
Simple starting flow
A useful first run is less about finding a perfect sentence and more about giving the generator a clear subject, setting, and visual direction.
Start with the person, object, place, or scene that must appear. Specific nouns give the image a stronger center of gravity.
Describe lighting, framing, color, material, mood, and intended style. Add only the details that support the result you want.
Keep the strongest composition and adjust one detail at a time. Save the wording that produces a repeatable direction.
Choose the right route
The AI workspace is strongest for visual exploration and first-pass assets. Your best workflow depends on whether the next step is discovery, design, or production.
Explore several campaign moods before briefing a larger production team.
Compare visual directions quickly, then carry the most useful one into a structured brief.
Turn a rough post idea into a thumbnail, backdrop, or social visual.
Generate a starting image without waiting for a complete photoshoot or illustration.
Find a close visual direction from an image you already have.
Begin with visual similarity instead of trying to describe every detail in words.
Build a clean icon, mark, or illustration direction that must remain sharp at different sizes.
Use a vector-oriented workflow when scalable shapes matter more than photographic texture.
Use it your way
Choose the panel that matches the material in front of you: a blank prompt, a reference image, or a design task with a clear format.
Prompt
Describe the visual outcome before worrying about technical language. A subject, context, and mood are enough to produce a direction worth refining.
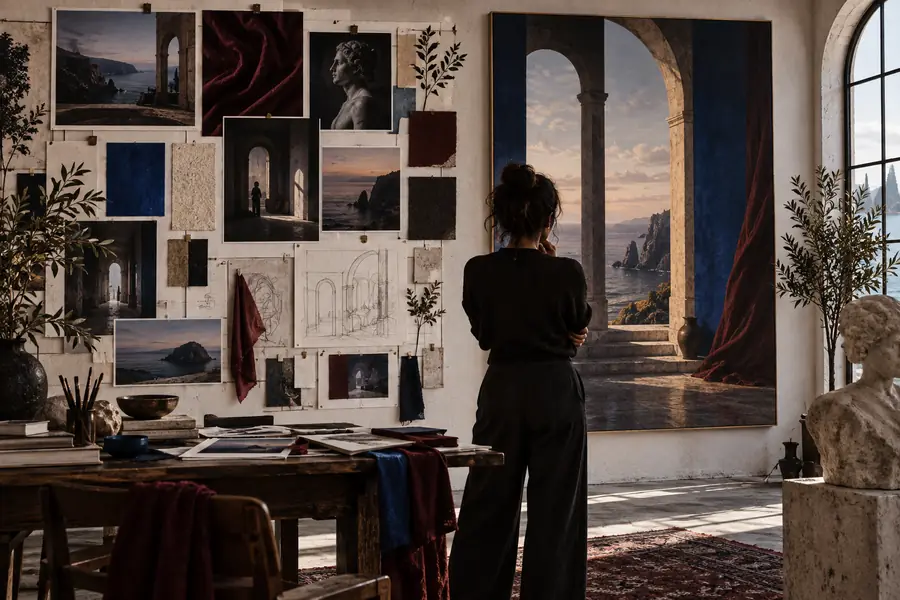
Reference
Use a reference-led approach when color, framing, or overall visual character is difficult to express in text. Keep the reference focused on the quality you want to carry forward.
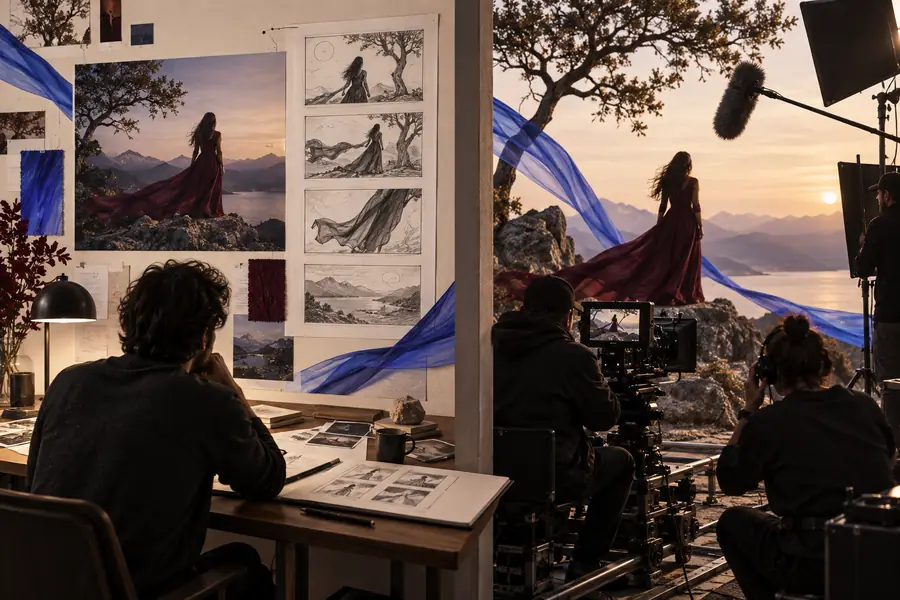
Design
Think beyond the isolated picture. Leave room for type, match the intended crop, and decide whether the final asset needs photographic detail, illustration, or scalable shapes.
From idea to asset
The more deliberately you describe the job, the easier it is to judge a generated image and decide whether to refine it, redesign it, or switch workflows.
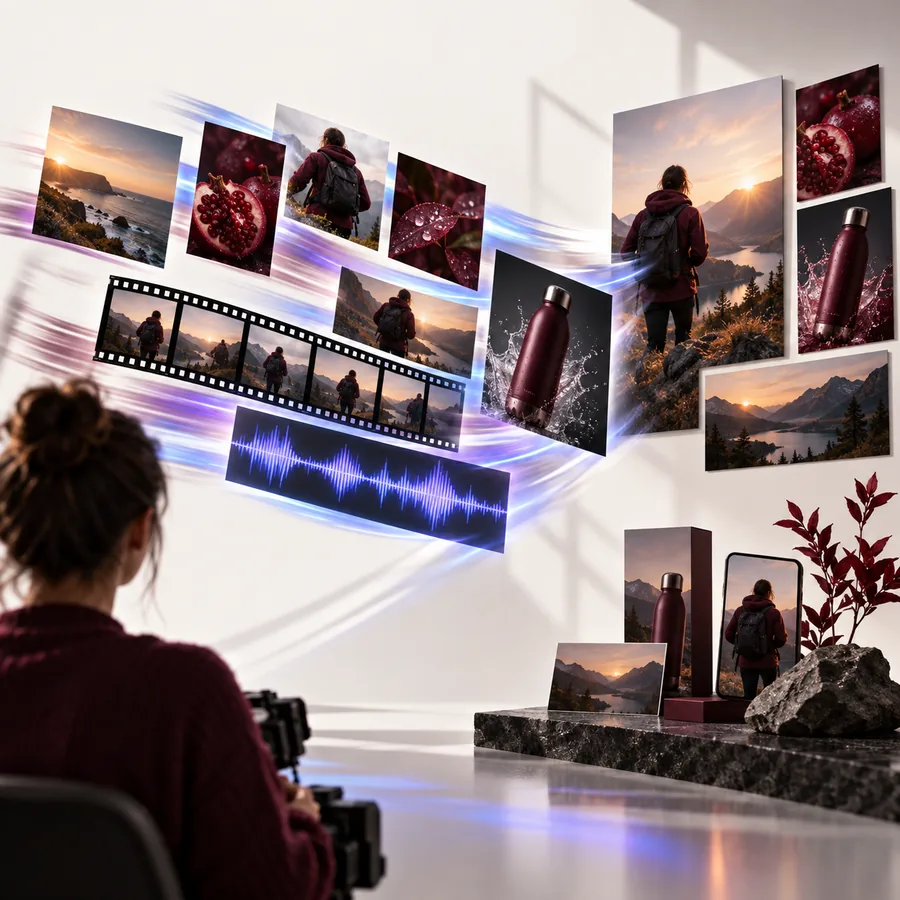 01 · Brief
Step 1
A vague prompt can produce an attractive image that misses the assignment. State what the image is for, who should notice it, and which visual choices matter most.
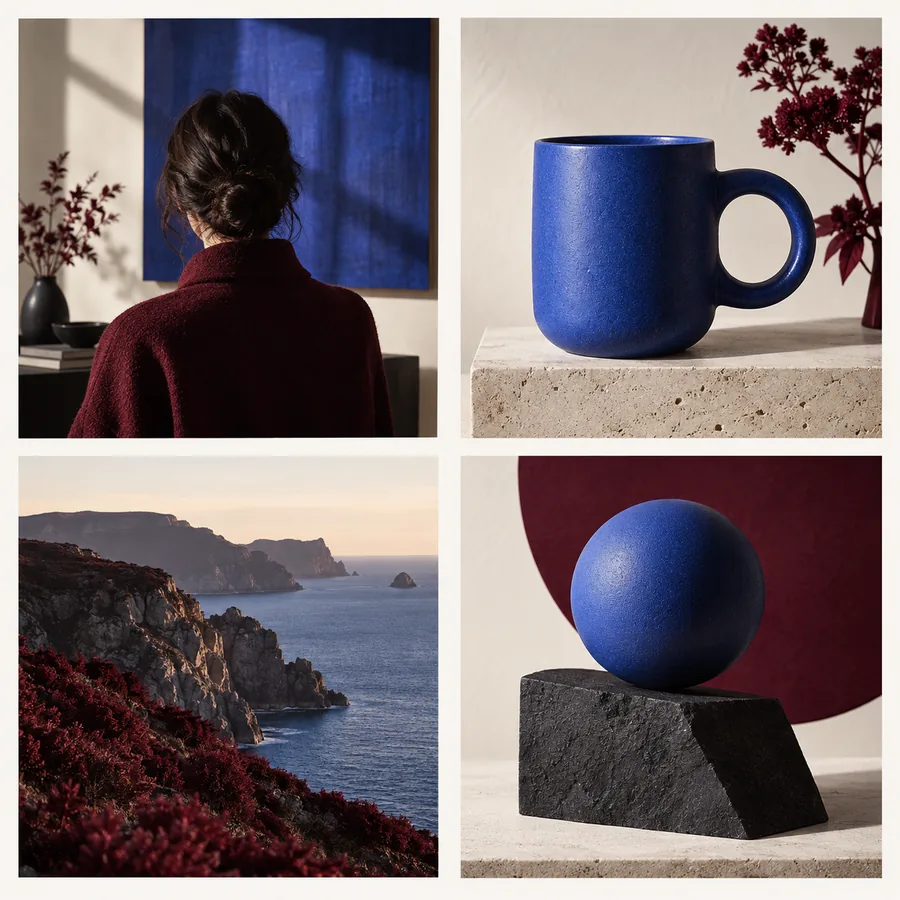 02 · Refine
Step 2
Useful iteration changes the image's message or structure. Try a new camera angle, crop, material, or lighting direction before adding more adjectives to the same sentence.
 03 · Deliver
Step 3
Generated imagery is often a strong starting point rather than the entire production process. Move into design, vector work, or image discovery when the deliverable requires a different kind of control.
Make the first visual
Start with a focused prompt, inspect the result, and refine only what moves the image closer to its purpose. The fastest workflow is usually the one with the clearest brief.
Common questions
Freepik AI is an AI-focused creative workspace for turning prompts and visual references into image concepts and other creative starting points. It is most useful when you want to explore a direction before refining it into a finished asset.
It can help you explore scenes, portraits, product visuals, campaign directions, and other image concepts from a written brief. The quality of the result depends on how clearly you describe the subject, composition, and visual intent.
No. Begin with a subject, setting, and mood, then add details only when they support the result. Short, specific prompts are often easier to evaluate and refine than long lists of disconnected style terms.
No. The AI entry point emphasizes generation and visual iteration, while the wider Freepik experience covers discovery, design resources, and other creative workflows. Choose the route that matches whether you are starting from an idea, an existing asset, or a finished layout.